Generate Images of Specific Characters using LoRA
This artcicle explains how to generate images of a specific character in StableDiffusionWebUI, after creating our own LoRA using SdWebUITrainTools and Kohya’sGUI.
About StableDiffusionWebUI
StableDiffusionWebUI is a framework that allows you to easily generate illustrations on your PC using Stable Diffusion. Refer to the article below for instructions on how to set it up.
For more information about Stable Diffusion, see the article below.
About LoRA
LoRA (Low-Rank Adaptation) is a training method that consist of retraining only some of the weights of StableDiffusion models, more specifically, only the weights of the cross-attention layers.
Also, not all of the parameters need tuning: they found that often, Q,K,V,O (i.e., attention layer) of the transformer model is enough to tune. (This is also the reason why the end result is so small). This repo will follow the same idea.
LoRA can be used to generate images of characters of your own design or of a specific composition. LoRA models are also much smaller in size.
LoRA and ControlNet (that we mentioned in a previous article) can be used together as LoRA statically modifies Stable Diffusion model weights, while ControlNet dynamically adds values to Stable Diffusion feature vectors.
Note that LoRA is not unique to Stable Diffusion, but itis widely used as a method for efficiently re-training other large base models, such as Whisper and Llama.
Applications of LoRA
Plug-ins for applying LoRA are installed as standard in StableDiffusionWebUI. A popular source of LoRA files is Civitai.
Let use for example Gacha splash LORA, which is designed to generate images following the style and composition standards of games Gacha screens.
Place the downloaded LoRA file GachaSplash4.safetensors in stable-diffusion-webui/models/Lora.

To apply a LoRA model, go to the Lora tab and select the model, which adds a tag in the text prompt.
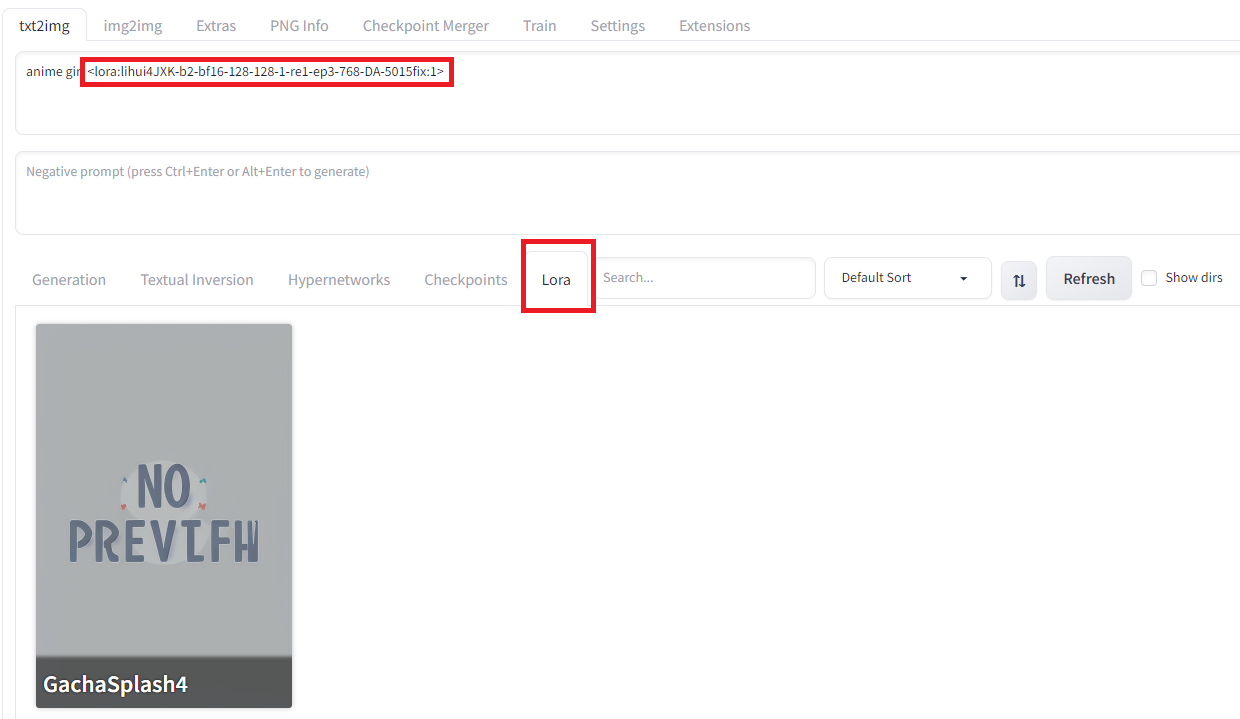
Generating an image in this state will output an image with LoRA applied.
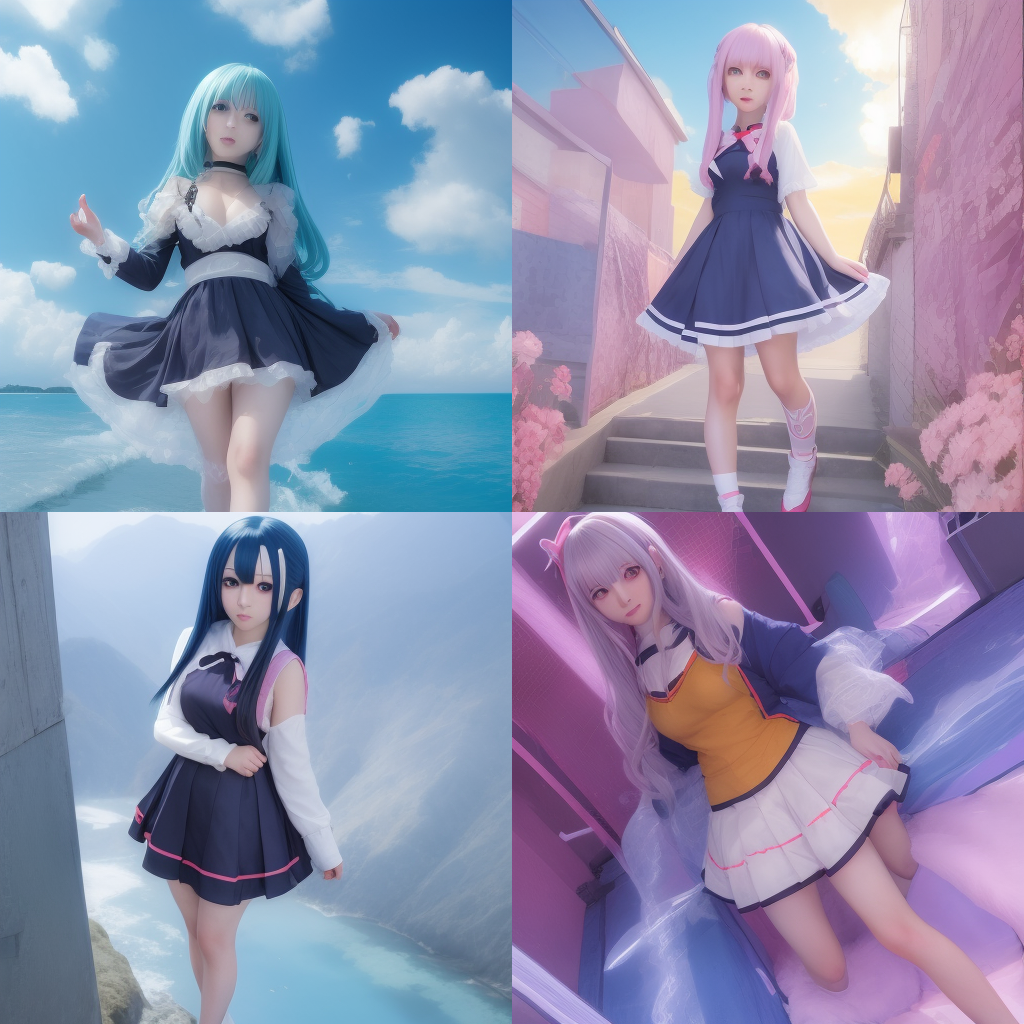
Results for the text prompt “anime girl” + LoRA
Creation of LoRA models
There are two ways to create a LoRA by entering an image of a specific character: using SdWebUITrainTools or using Kohys’s GUI.
As an example, let’s generate a LoRA that generates images in the style of Unity chan, the Unity game engine mascot.
Using SdWebUITrainTools
First install SdWebUITrainTools from the Extensions tab in StableDiffusionWebUI and enter the URL https://github.com/liasece/sd-webui-train-tools
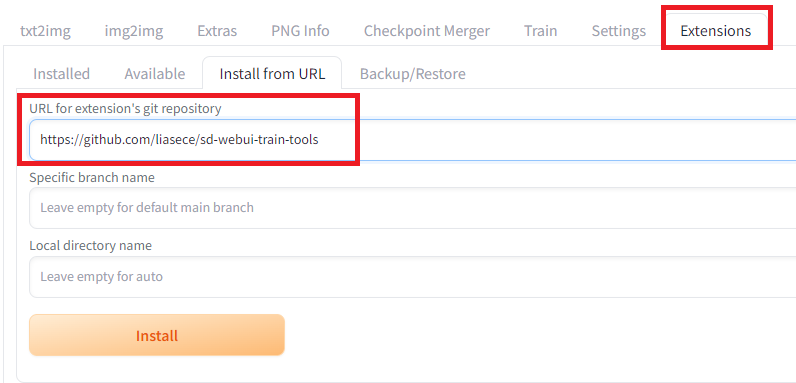
Installation of SdWebUITrainTools
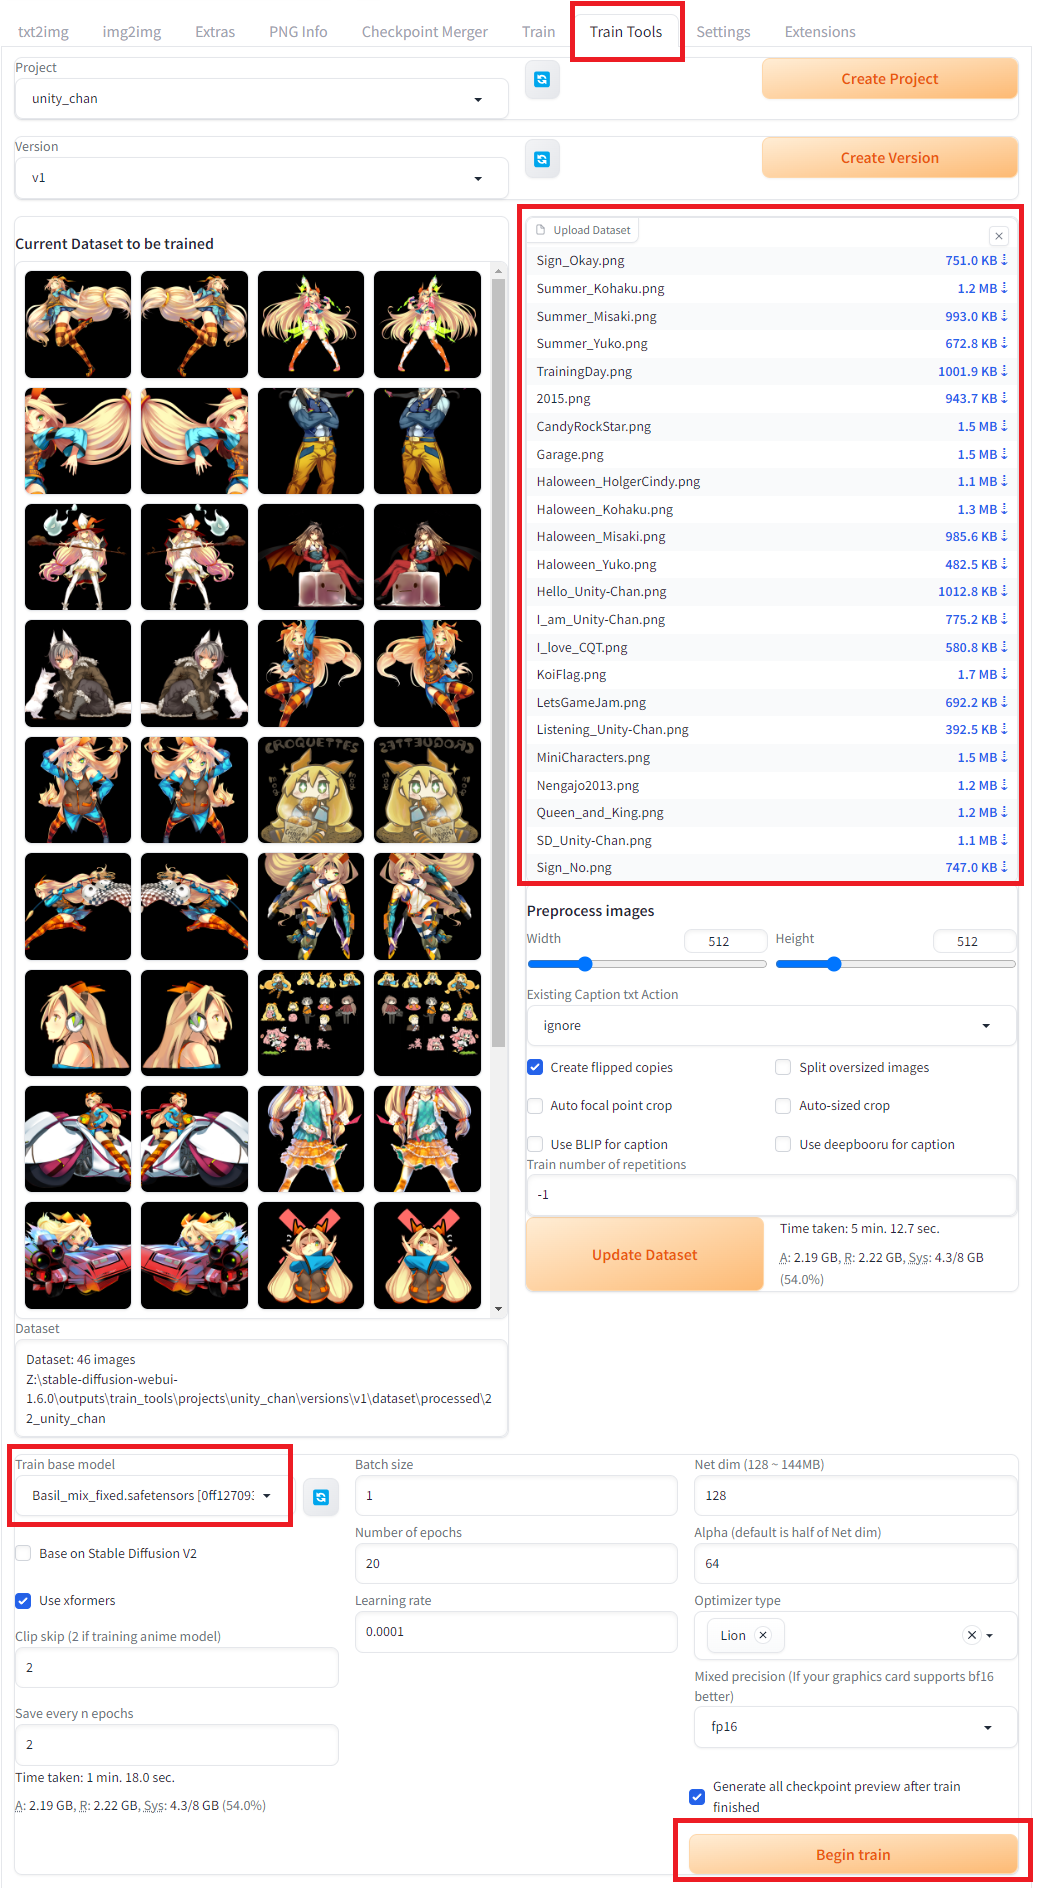
After clicking Apply and restart UI in the Installed subtab, a new tab Train Tools should be available.
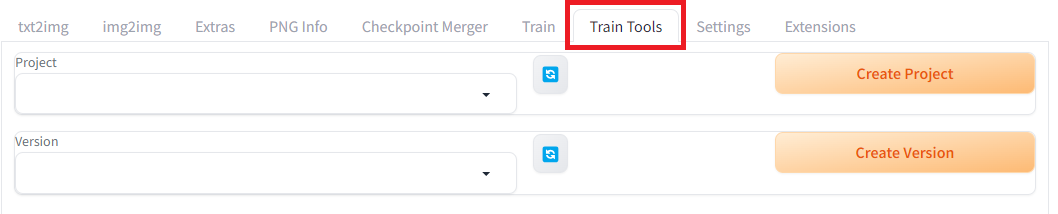
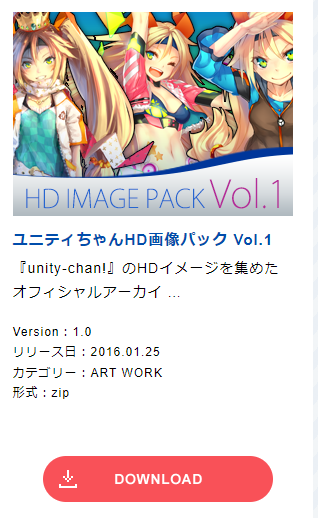
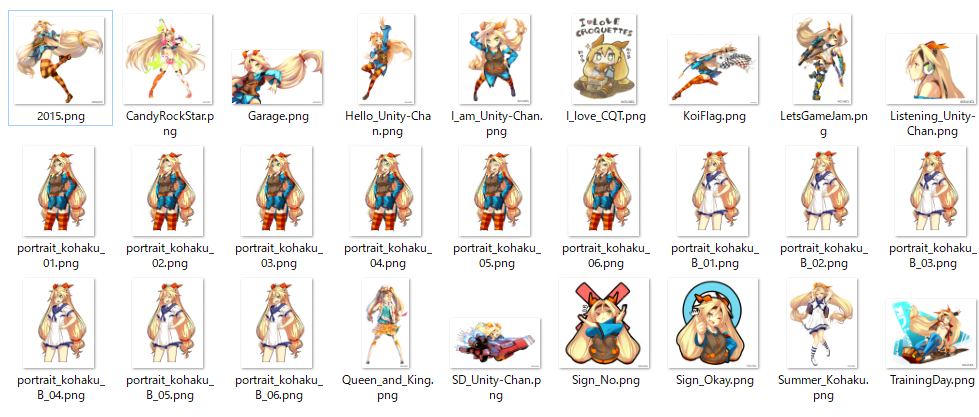
Create a new project and a new version, then download the Unity-chan HD Image Pack Vol. 1 at the link below, that we’ll use for training. (© Unity Technologies Japan/UCL)
DATA DOWNLOAD-GuidelineHOME DATA DOWNLOAD JP EN Created March 6, 2014 Revised ...unity-chan.com
Dataset to download from the link above
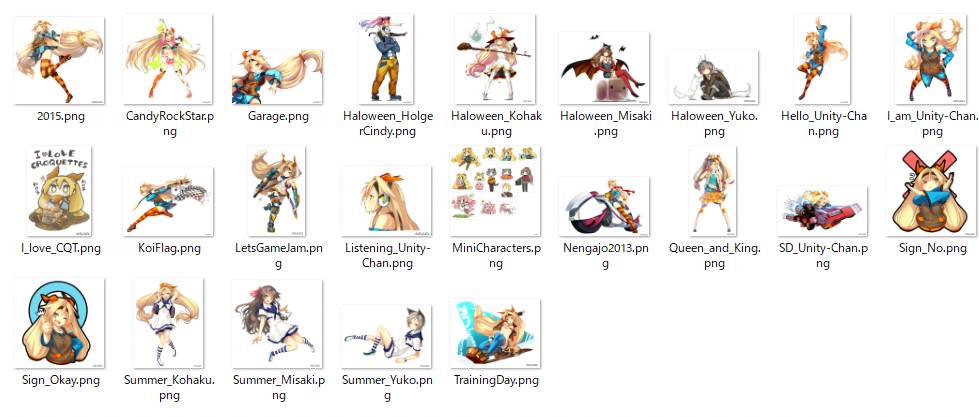
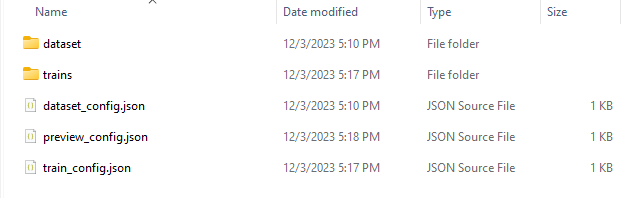
Files of the training dataset
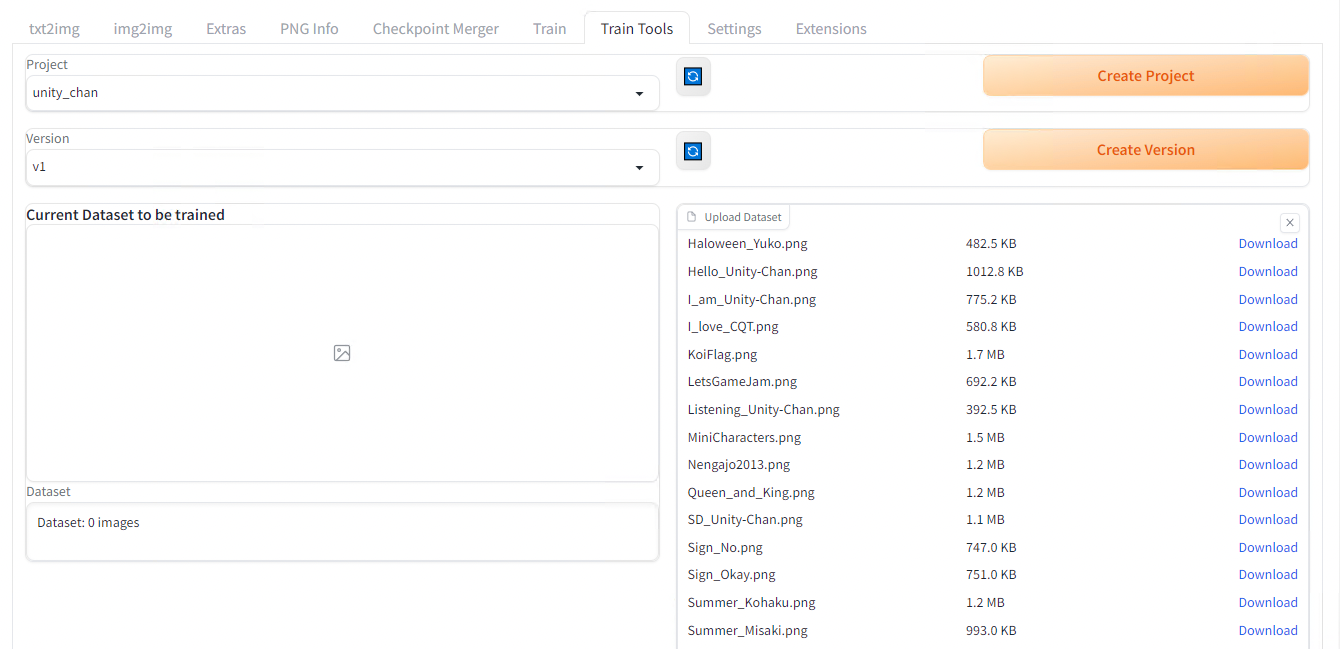
Drop all images into the Upload Dataset section and click the Update dataset button. It is said that LoRA requires at least 20 images for training.
Choose a model in the Train base model dropdown, then click the Begin train button located below in the same page. The training takes about 2 hours with RTX3080.
If you run into errors while running the training, please refer to the Troubleshooting section at the end of this article.
When complete, the LoRA file will be output in stable-diffusion-webui\outputs\train_tools\projects
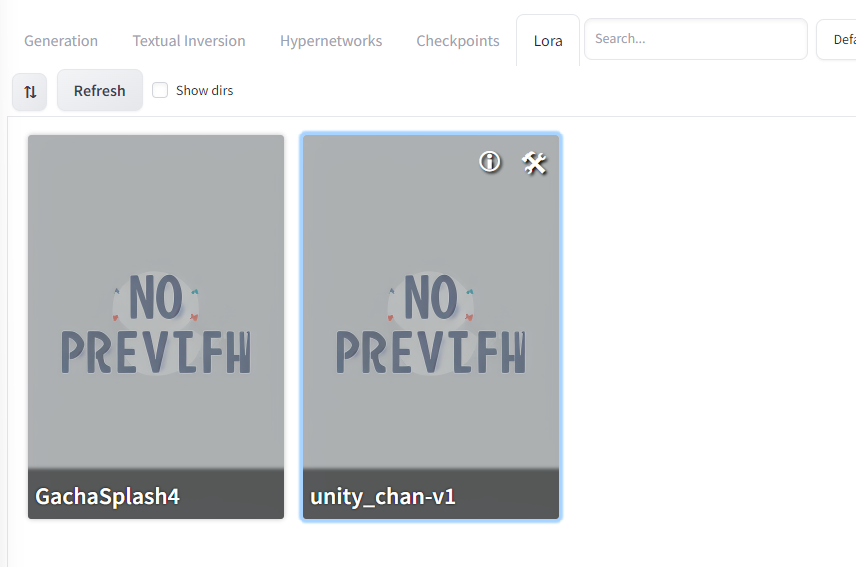
Copy the model you’d like to use to stable-diffusion-webui/models/Lora and after refreshing the LoRA model list we used earlier, select the newly added model. As we saw before, a tag <lora:unity_chan-v1:1> should be automatically added to your text prompt.
However when generating an image with it, we can see that the influence of the Unity-chan style is not obvious.
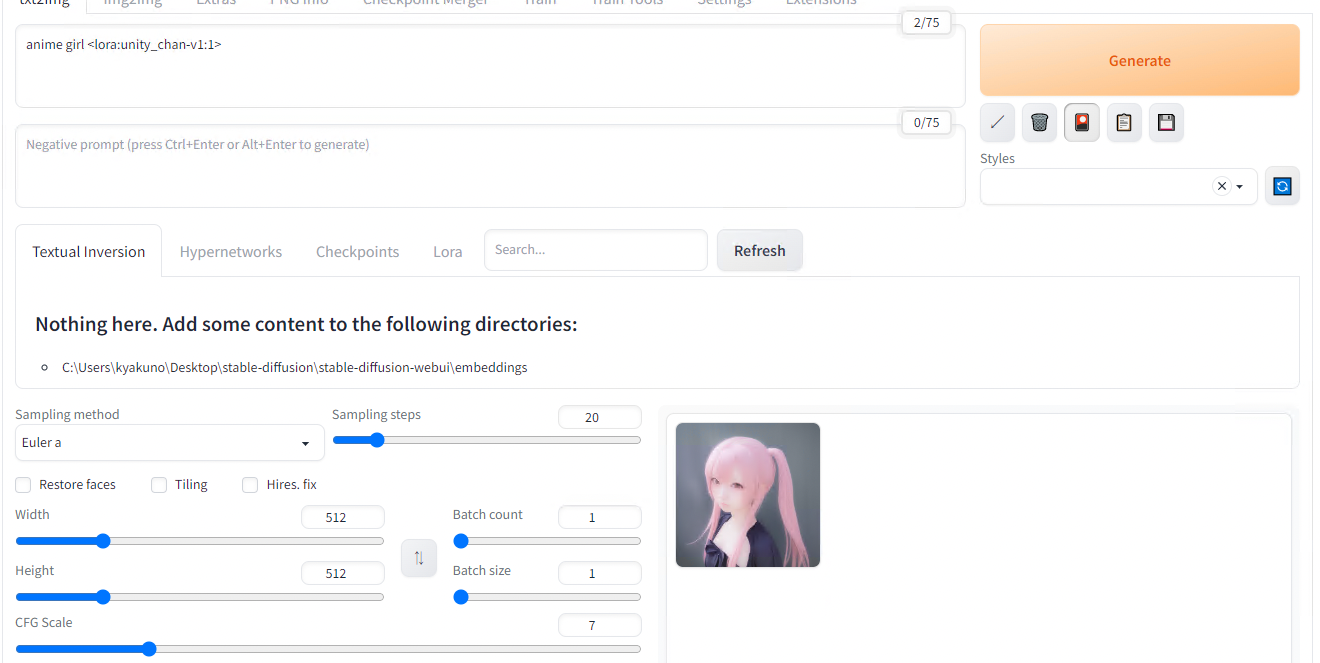
LoRA weigth = 1
This is because the default weigth of 1 is not strong enough, let’s try again with 1000.
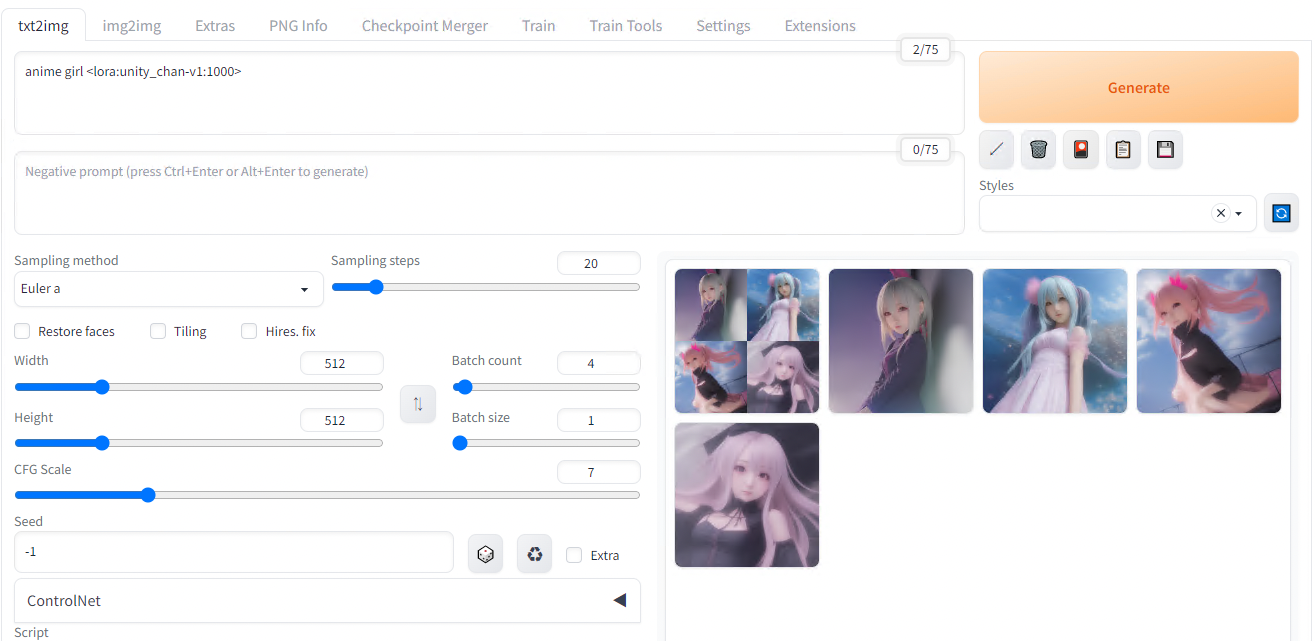
LoRA weigth = 1000
The new result is much better, showing UnityChan’s twin-tail and ribbon concepts have been acquired from the dataset.
The next step to improve the result would be to work on the training dataset. The original dataset had many images that were not suited for the task, let’s remove them. Below is the new dataset and an example of generated image with this v2.
Dataset v2
Generation result v2
The reason why the result is not looking like an anime is probably due to the base model (Basil_mix) may be optimized for live-action. See the previous article to know more about this model. After replacing the model with Anything-v4 more suited for anime character the result is much better.
Generation of output with model v5
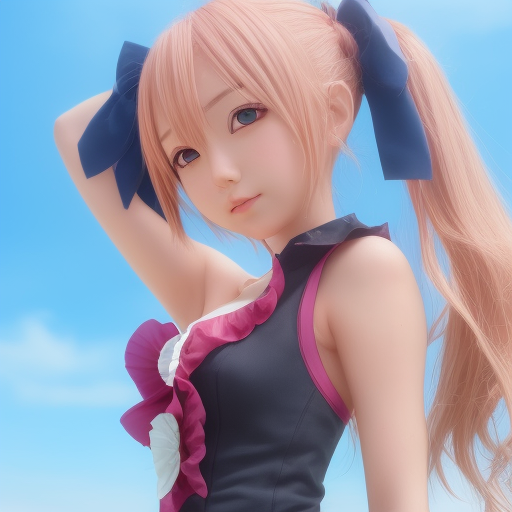
We now have an anime style but We’re still quite not there yet… It turns out generating images of a specific character can be greatly improved but describing the physical characteristics from the prompt as well as using a LoRA. Let’s enhance the prompt to describe Unity chan’s main features.
1 girl, yellow hair, twin tail, orange ribbon, blue head band, green eye, long hair
The result after that is much better.
Generation of output with improved prompt
Using Kohya’s GUI
Starting from the same dataset we had in the previous section.

Training dataset
Install Kohya’s GUI.
git clone https://github.com/bmaltais/kohya_ss
setup.bat
gui-user.bat
In the webUI, select DreamboothLoRA. In this case, since this is an animated image, specify AnythingV4.
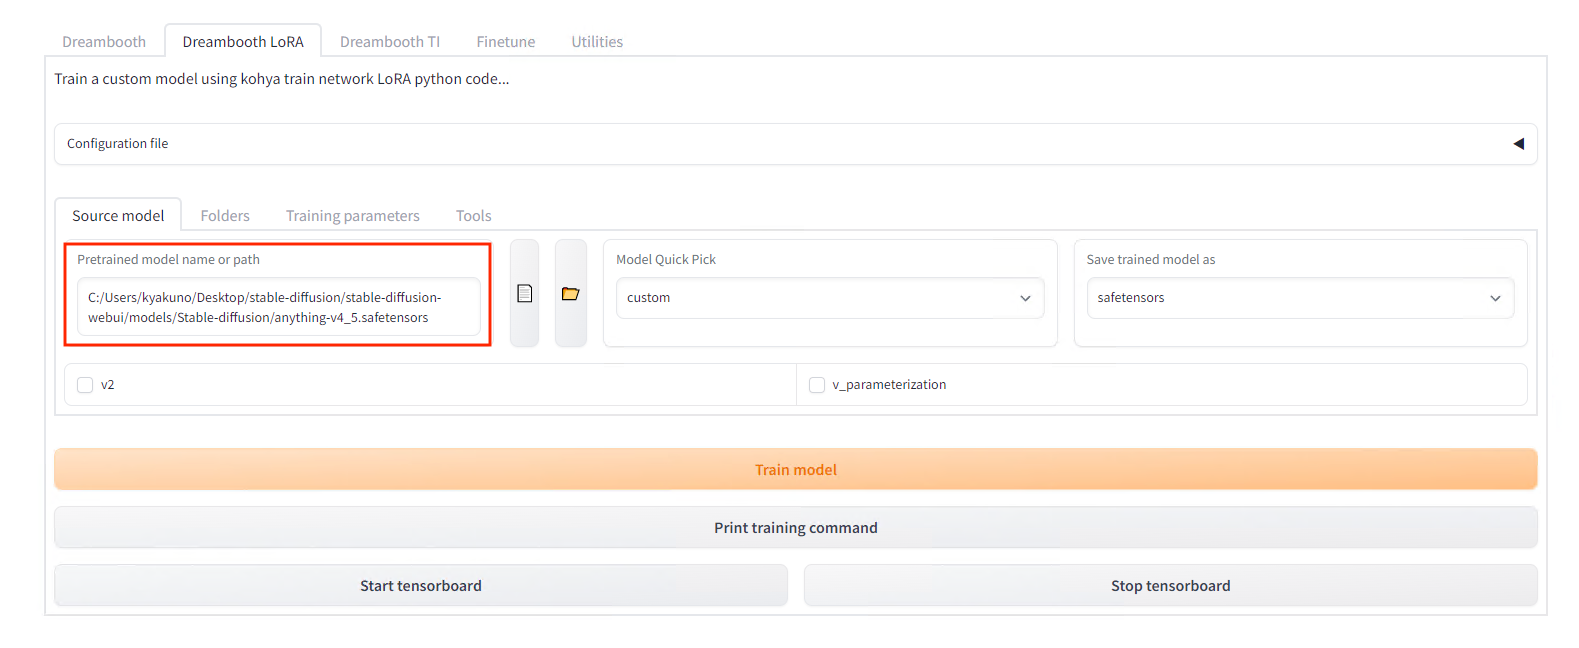
Model setting
Specify the folder of images to be trained on in Folders (the parent folderof the one containing images). The name of the folder will be the number of steps and the prompt for using the character. In this example, put the image in the folder named 20_unitychan, and specify the destination folder in Output.
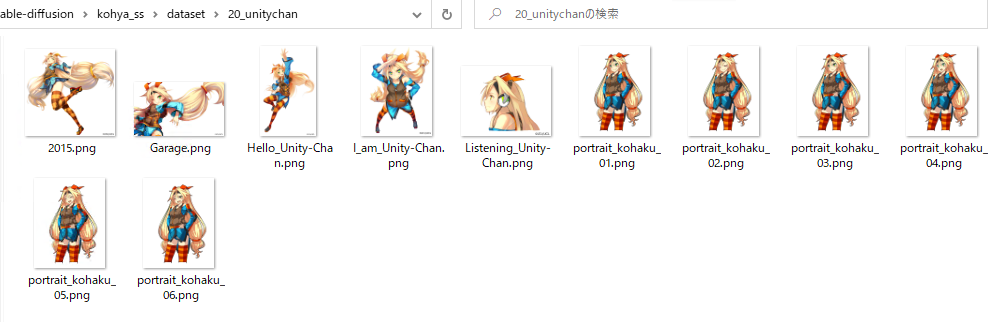
Training dataset file structure
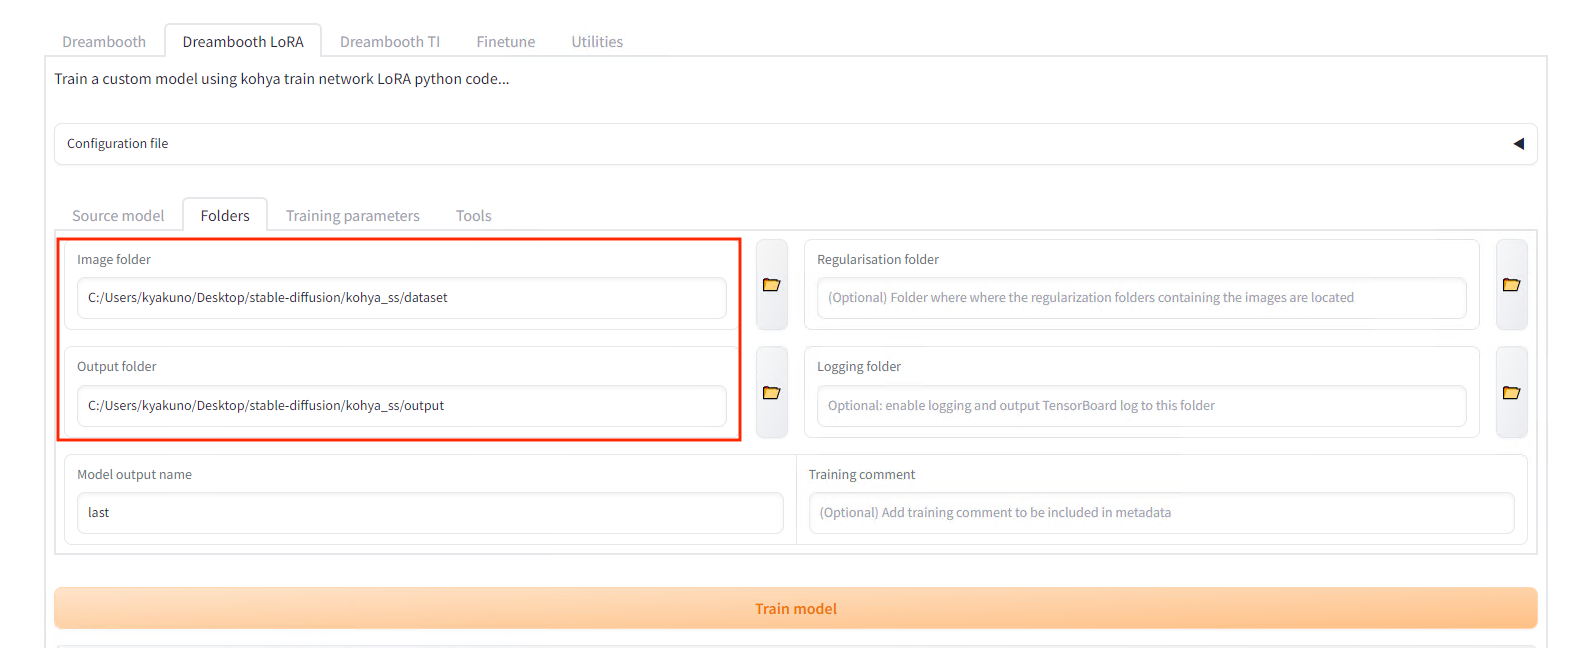
Folder settings
Set Epochs to 5 in the settings.
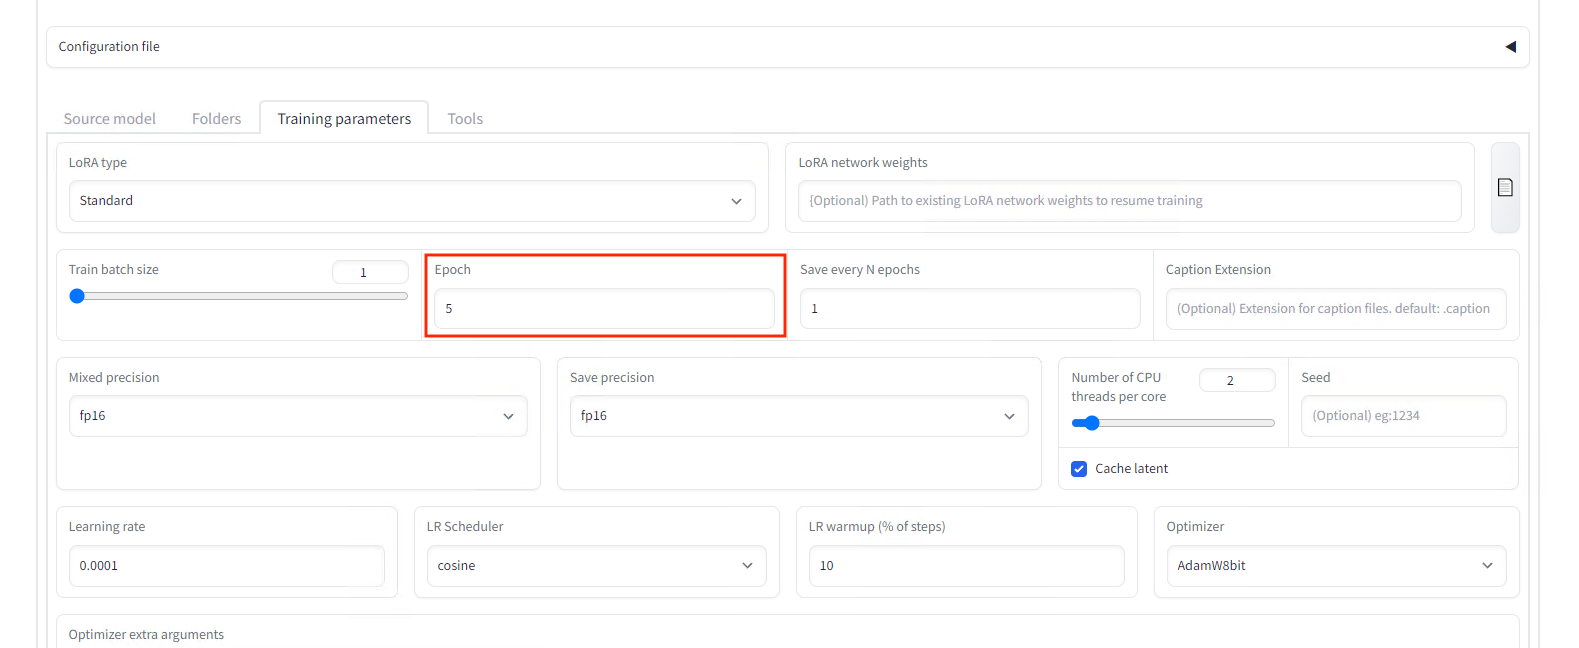
Set the number of epochs
Press the Train model button to start the training that takes about 10 minutes.
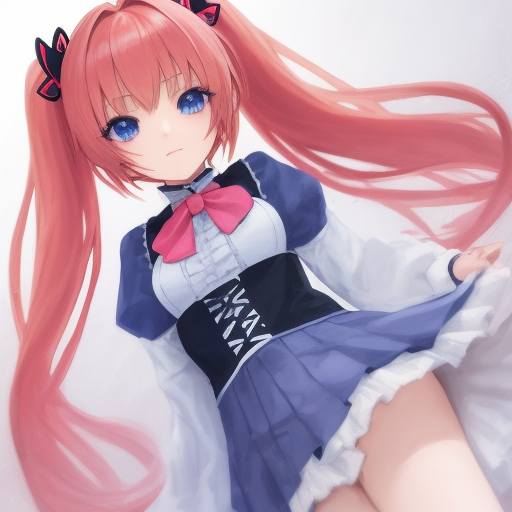
Copy the generated last.safetensors to models/LoRA in the StableDiffusionWebUI and follow the procedure for applying LoRA to generate the image. Specify the folder name unitychan in the prompt in reference to our folder name.
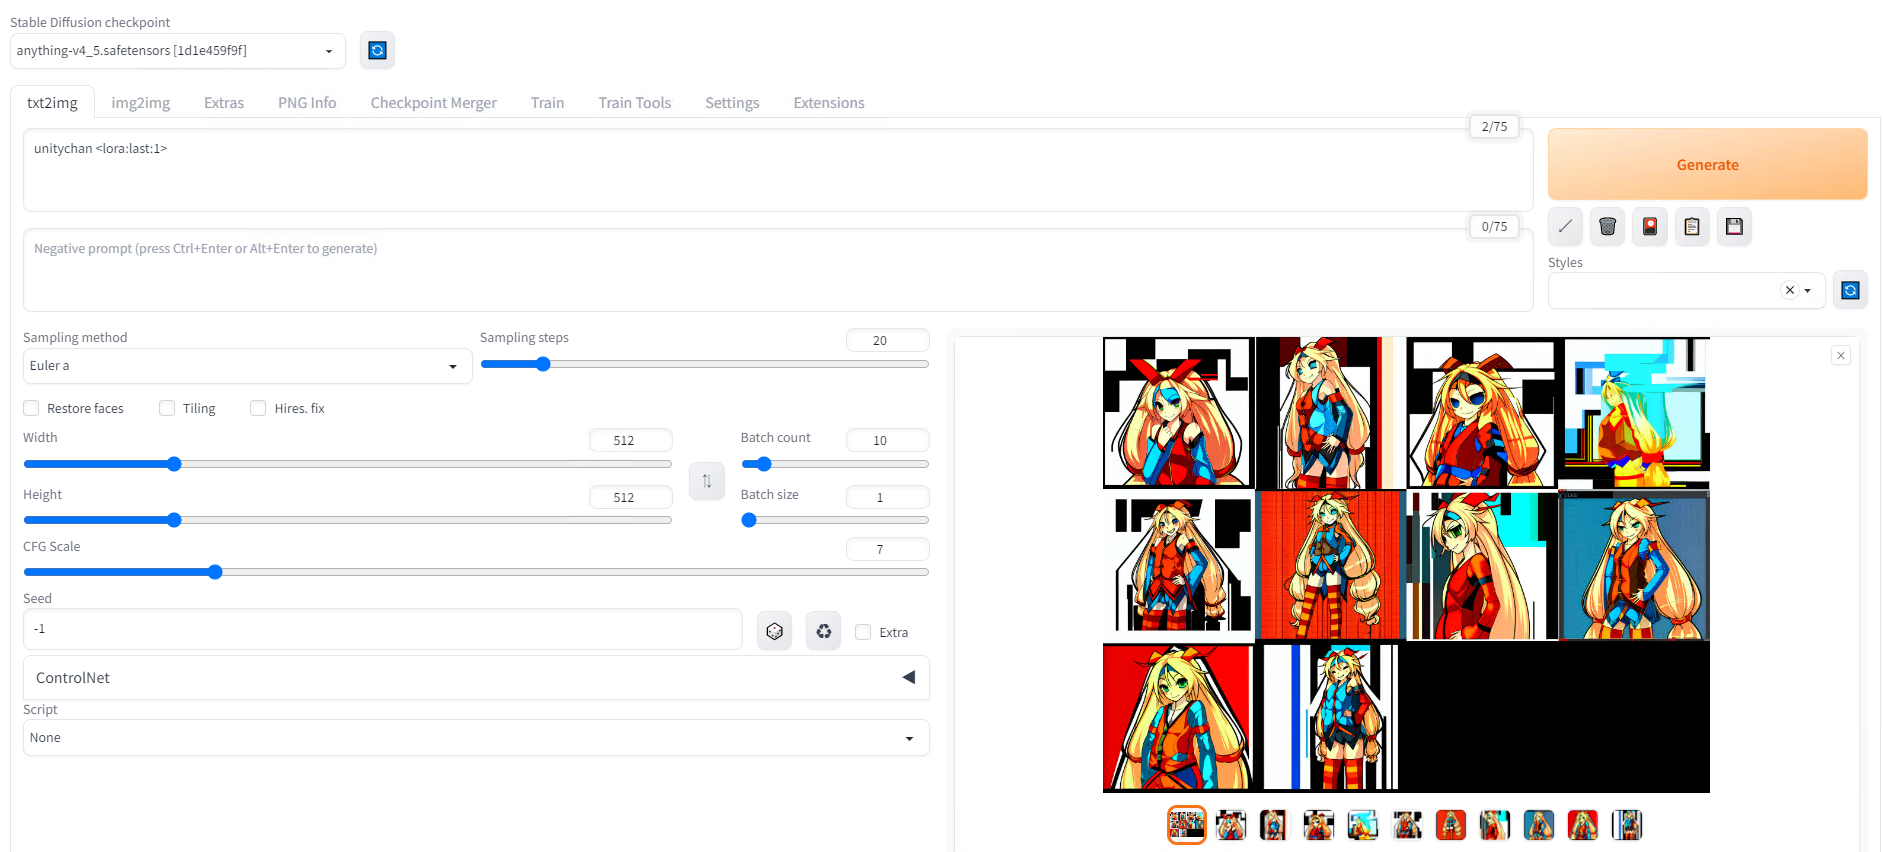
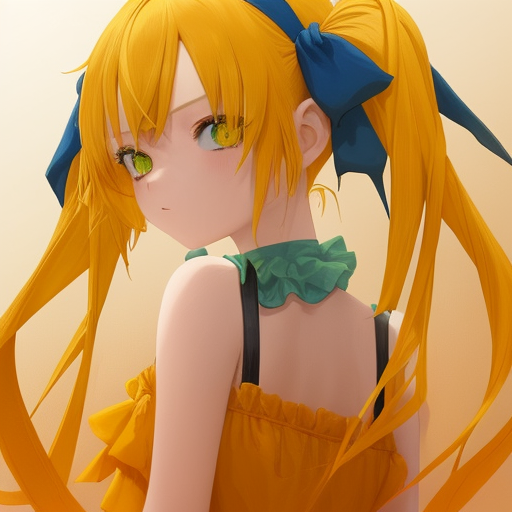
Generation prompt
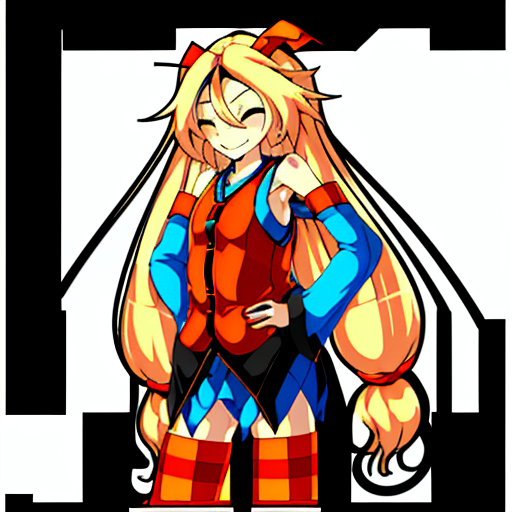
Generation result from the previous prompt
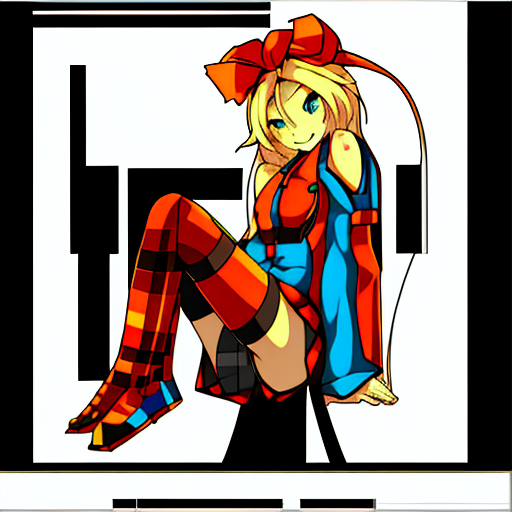
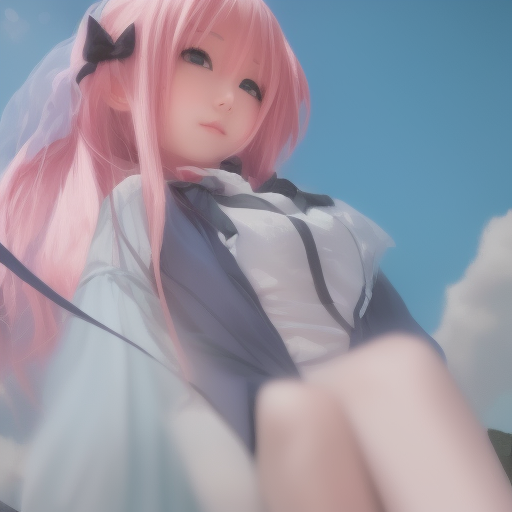
Generation result when combined with ControlNet pose control
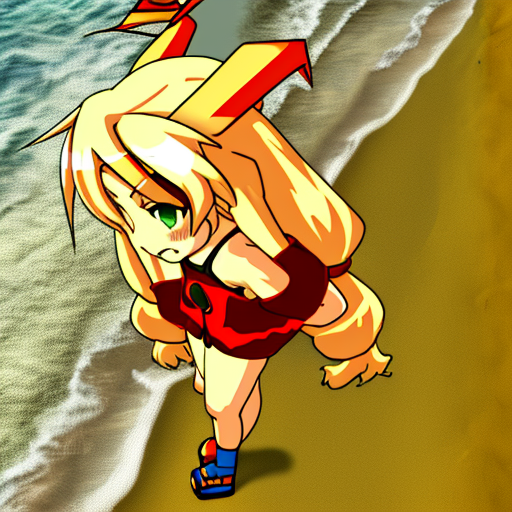
Generation result with prompt “unity_chan, on the beach”
Troubleshooting (SdWebUITrainTools)
Errors while training with SdWebUITrainTools
If you are using Python 3.9 instead of Python 3.10, you will get the following error:
def readImages(inputPath: str, level: int = 0, include_pre_level: bool = False, endswith :str | list[str] = [“.png”,”.jpg”,”.jpeg”,”.bmp”,”.webp”]) -> list[Image.Image]:
TypeError: unsupported operand type(s) for |: ‘type’ and ‘types.GenericAlias’
This is because the operator | was added in Python 3.10. You will need to recreate the environment with Python 3.10.9. To recreate the environment, install Python 3.10.9, delete the venv folder in the stable-diffusion-webui folder, and then run webui.bat.
ModuleNotFoundError: No module named ‘xformers.ops’; ‘xformers’ is not a package
In case you run into the error ModuleNotFoundError: No module named ‘xformers.ops’; ‘xformers’ is not a package during training, you can apply the fix below.
xformers should be enabled because disabling it makes the training consumes a lot of VRAM, resulting in cudaOutOfMemory.
Troubleshooting (Kohya’s GUI)
TypeError: argument of type ‘WindowsPath’ is not iterable
It seems that the bitsandbytes binary needs to be overwritten as shown below for Windows.
copy .\bitsandbytes_windows\*.dll .\venv\Lib\site-packages\bitsandbytes\
copy .\bitsandbytes_windows\cextension.py .\venv\Lib\site-packages\bitsandbytes\cextension.py
copy .\bitsandbytes_windows\main.py .\venv\Lib\site-packages\bitsandbytes\cuda_setup\main.py
ModuleNotFoundError: No module named ‘xformers’
Newer xformers 0.0.18 will cause the following error.
RuntimeError: xformers::efficient_attention_forward_cutlass() expected at most 8 argument(s) but received 13 argument(s). Declaration: xformers::efficient_attention_forward_cutlass(Tensor query, Tensor key, Tensor value, Tensor? cu_seqlens_q, Tensor? cu_seqlens_k, int? max_seqlen_q, bool compute_logsumexp, bool causal) -> (Tensor, Tensor)
You need to install xformers 0.0.14.
pip install -U -I --no-deps https://github.com/C43H66N12O12S2/stable-diffusion-webui/releases/download/f/xformers-0.0.14.dev0-cp310-cp310-win_amd64.whl
ailia Inc. has developed ailia SDK, which enables cross-platform, GPU-based rapid inference.
ailia Inc. provides a wide range of services from consulting and model creation, to the development of AI-based applications and SDKs. Feel free to contact us for any inquiry.